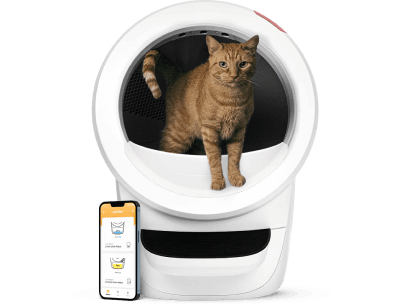
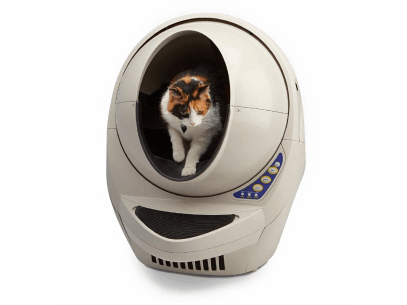
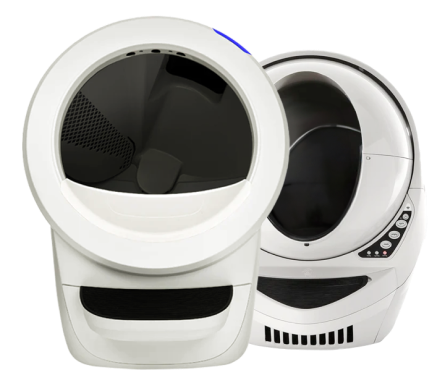


So you have an issue with your amazing Litter-Robot III Open Air?
See if the following helps you out!
As a quick fix to use your Litter-Robot 3 manually, remove the bonnet, and lift and rotate the globe, mimicking the normal rotation to sieve any deposits for you.
Please take note of the colour of light and flash rate, or if available review your APP history, for appropriate troubleshooting.
How recently have you done a deep clean? You can review the process here https://youtu.be/Am3-zpylNdw
DFI Troubleshooting – blue flashing, fast flashing yellow, Drawer Full Indicator Sensors.
DO
- Turn off and unplug the black power supply from the back of the base for 1 minute.
- Remove the waste drawer completely and leave it out.
- Plug in the Robot and turn on. Review and provide information with colours of light and flash rate important.
- Update when complete if the light is solid blue or flashing blue or fast flashing yellow, or other.
If its solid, check your liner is installed correctly
https://youtu.be/NxgTYtknW_c
If flashing blue/fast flashing yellow, take a photo of left and right DFI sensors for review, face on so the centre of each board is clearly visible. Review this link to help with location https://youtu.be/l7vfvYvJB5s
Take a photo of the pinch detectors. DO NOT pull on the plastic cover, which is delicate by design, and to be pushed only. Review this link to help with location https://catevolution.com.au/pinch-detector-first-aid
CLEANING Unplug power supply from back of the base before proceeding
ON the left side DFI, review the row of silver chip pins located left side of the midboard black square (chip) for discolouration or damage.
Clean by stroking along the pins outwards from the black square, with a lightly damp earbud or qtip to help soften the material. Clean top and between (valley) the pins.
When done, ideally returning the pins to silver with clean separation, wipe over again with a dry qtip to remove all debris and any moisture.
Inspect the pinch detectors for dirt/debris where they touch together. Push on the cover (DO NOT PULL) to open a small gap and wipe the touch point area with a qtip or earbud as clean surfaces are required for good power flow.
Please take pictures of the DFI and pinch detectors after cleaning.
Re-assemble, turn on and review lights and behaviour. If not functioning as expected, provide information and photos for review if under warranty.
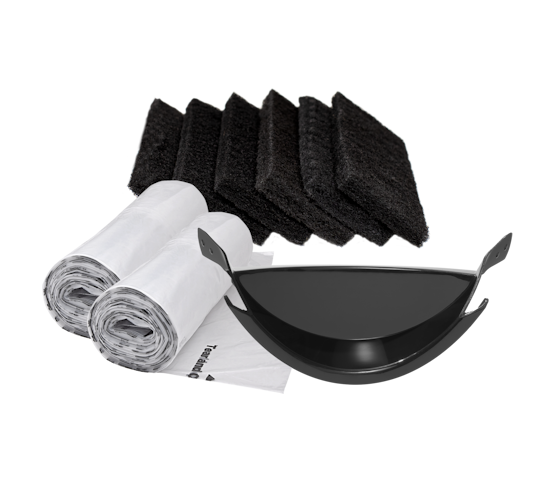
Note Good litter is solid clumping, low dust, and you can review this in both globe (not sticking) and waste drawer (solid clumps). Good clumping litter is essential to keep your appliance in good order, minimise maintenance and reduce odour by locking in uric acid (cat pee smell).
SELF INSTALLATION REPLACEMENT OPTION
IF you are now out of manufacturers warranty you will need to purchase parts, with the Litter-Robot 3 designed for self installation.
Purchase a DFI kit (including pinch detectors) if you are in Australia here https://catevolution.com.au/litter-robot-components.html/litter-robot-3-open-air-dfi-boards.html
Manufacturer installation video https://www.youtube.com/watch?v=1SYEYLbeji4
Australian version (older style DFI) https://www.youtube.com/watch?v=Gi3AdBCImuo