


The pinch detectors are designed as a fail safe should there be something caught in the chute area of the Litter-Robot, such as a very adventurous cat that leaps in when rotating, and manages to get into a compromising position. It is a simple pressure lever set up, and is located inside the top of the base, to the left side of the Chute where the dirty litter falls into the waste tray.
There is a more prominent plastic section clearly visible if the globe is removed, and this is the upper housing cover for the pinch detector. Take care to only push on this cover, do not pull, as it is fragile by design and can be broken.


As the detectors are metal, and located on the underside of the base top, they are subject to the same issues with possible dirt and debris that occur for the Drawer Full Sensors (left side green board also visible in the picture). When the globe cycles and drops dirty litter into the waste tray, it falls past the left side first. If the tray is left over full, debris can work up into the open underside of the pinch detector well, causing dirt and corrosion which may interrupt the connection between the two detector plates. If the connection is interrupted, the Robot will stop or not cycle, and the yellow cycle light will flash fast (3 per second). If there is no physical cause, it may be the connectors need to be cleaned or corrosion cleaned off.
This can be done generally in place using a cotton ear bud and cleaner (sprayed on the ear bud), and carefully cleaning between the contact points on the 2 metal strips. Push on the cover (DO NOT PULL) and open a gap between the contact points for easier access, with only the area of touching needing cleaning.
A more serious clean if needed requires removal taking care not to bend out of shape (needle nose pliers are required, and wiggle and tilt), and clean, polishing the curved heads with a dry chunk of magic eraser or micro abrasive. The silver needs to be clean and intact. The terminals can then generally be refitted. Clean the area before refitting into the well. If the silver is not intact, replacement parts can be ordered https://catevolution.com.au/products/litter-robot-3-open-air-anti-pinch-pins-2pk-html
TIP do review the DFI/green board for debris on the silver rows of chip pins, and clean if needed, including both top of pins and between pins. A damp qtip can be used as well, and dry well before reassembling.
Take photos of the parts in case you need further review of parts, then reassemble the Litter-Robot, plug in and turn on, and observe the initial cycle. If you have any issues, and the Litter-Robot does not complete with solid blue light at finish, contact customer service support@catevolution.com.au
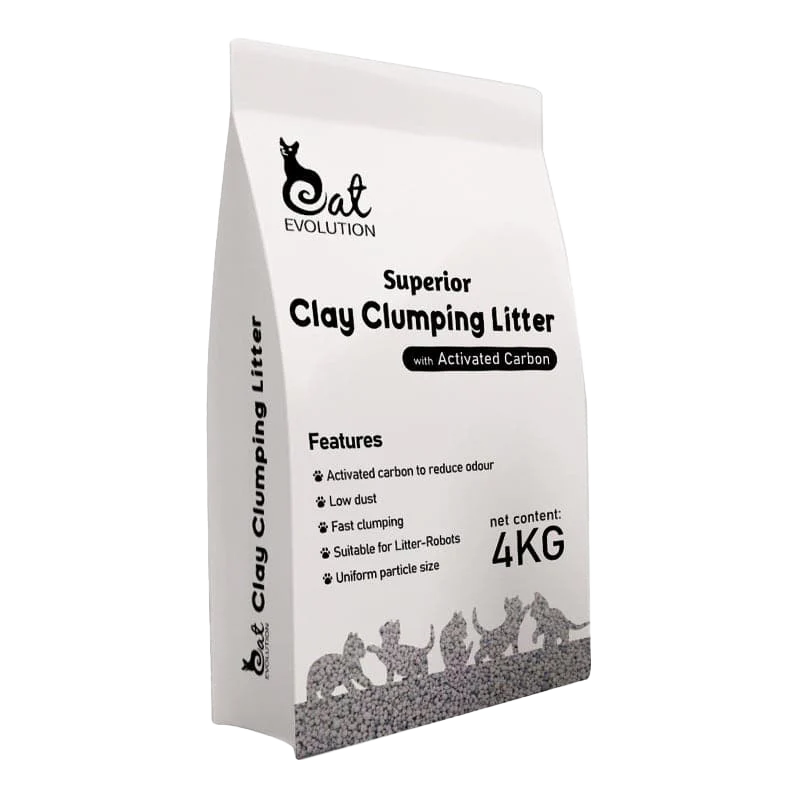
PROTIP use good clumping clay litter to lock up soiled matter so it does not spread when being scooped. Good clumping clay litter should have solid clumps in the waste drawer, not fragments, with the clumping locking in uric acid (pee smell) which can also corrode the pinch detectors if not contained in the clumps.
Feel free to post comments and feedback on facebook @catevolution.com.au or provide a photo of your cleaning success on Instagram at Catevolution1 and hashtag #catevolution1
Loving the Urban Lifestyle
Mary & Pixel
www.catevolution.com.au