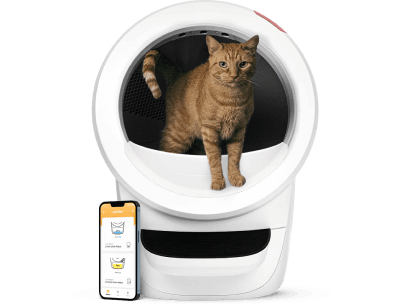
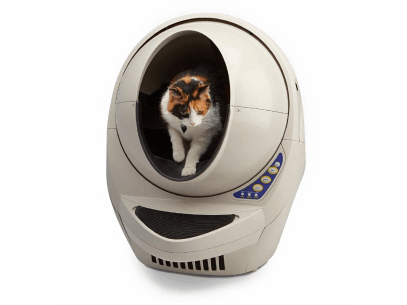
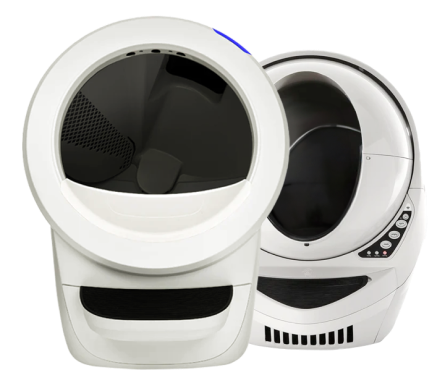
So, you notice over time that the globe liner of your Litter-Robot has a whitish residue and marking, or litter you are using gets sticky, muddy and adheres to the globe liner or you are finding that you are regularly using a scraper (of sorts) to remove the stuck on bits left when your Litter-Robot is cycling (yes some of us watch the magic happen!!! why do our fur-babies have all the fun).
There are key areas to look at when this happens, such as the litter you are using, your cleaning schedule, the products you use to clean, and replacement of items like seal strips and carbon filters.
LITTER
One of the easiest ways to improve operations for your amazing Litter-Robot is to keep an eye on and review your litter. After all, YOU are in control of this consumable, but it does come with responsibility and a plethora of choice!
I have noticed, as I am sure you have, that a tried-and-true litter I loved suddenly changed from one package to the next. Here are some extremely helpful tips for choosing and reviewing your litter.
Key characteristics of a good clumping clay litter are;
- fast clumping (which absorbs the urine as it travels towards the liner surface),
- good solid pee sized clumps that don't disintegrate when dropped into the waste drawer,
- no pancaking and/or sticking mud (large flat clumps that settle in the globe and will not fit through the waste opening which are signs of urine travelling through rather than being absorbed),
- low dust,
- little to no odour as clumping should lock in the uric acid,
- if possible added carbon or activated charcoal for odour help in Australian summer conditions, and
- the globe should be cleaner after cycling.
GLOBE LINER CLEANING (IN GLOBE)
Here are some easy cleaning suggestions, that you will be pleased to know, use products most of us have already in our home and don't require a screwdriver!!!.
I will point out however that time is you friend when cleaning stuck on material, allowing ample soaking time for this process will likely remove the need to channel your inner HULK for hard scrubbing of the globe liner.
IMPORTANT: Do not use harsh chemicals when cleaning your Litter-Robot. The globe liner is made from PVC which can be damaged with the use of the wrong cleaning products.
- Empty the globe, scraping off as much mud as possible.
- Wash the remaining mud off with water.
- With the globe balanced upright (on the waste drawer or similar), pour in full strength white vinegar, so that area on the liner where the litter has been stuck or any residue is visible, is covered with liquid.
- Let it sit for minimum 30 minutes.
- Test scrub the surface marking with a kitchen plate brush or nail brush (stiff plastic).
- If the residue lifts, empty, rinse with clean water, and place face or opening down to drip dry.
- If there is still residue or it's hard to remove, soak longer. Repeat.
- I also found with a very caked area, that the flat edge on the plastic long handled plate brush, if you have similar style, could be used to scrape off as well.
- Essentially, the vinegar will work on the clay residue and help soften it, as well as work on the liner itself.
White vinegar is mild and also is light anti-microbial, which helps with odour. I usually mix it 50/50 with sunlight dishwashing liquid for cleaning, but for stuck on litter its best to do straight vinegar for harder deposits, then regular cleaning with the mix and scrub.
NOTE: you can also remove the liner but unless you have soiled material on the underside between liner and shell, it is generally not needed.
PRO TIP: using the Litter-Robot spray cleaner after wash and dry (as a light spritz coating on the black globe liner left on to dry) can help with re-conditioning and is also microbial treatment, for the longevity of your globe liner. https://catevolution.com.au/products/lr-spray-html

There are also wipes for convenience in-between deep cleaning. https://catevolution.com.au/products/lr-wipes-html

SEAL STRIPS & CARBON FILTERS
Often, we neglect two uninteresting but very important parts of our Litter-Robot that are closest to the smelly gifts our fur-babies leave behind (mainly because we don't see them).
SEAL STRIPS
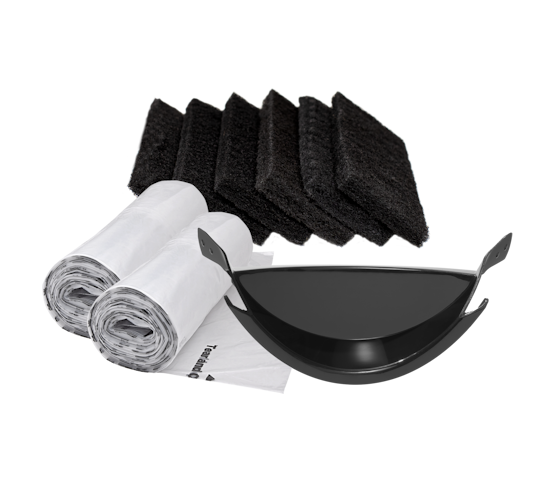
Seal strips assist in reducing unpleasant odours and also reduce litter and waste leakage. They need to be replaced when they are dirty or peeling off your Litter-Robot.
During regular cleaning you can refresh your seal strips by brushing them with a firm brush to remove any debris and then wiping down with a damp cloth (ensure they are completely dry so that litter doesn't stick on first use).
Litter Robot 3 - Seal Strips Litter-Robot 4 - Seal Strips


CARBON FILTERS
Carbon filters play significant role in trapping and neutralising the unpleasant odour from our fur-babies' deposits.
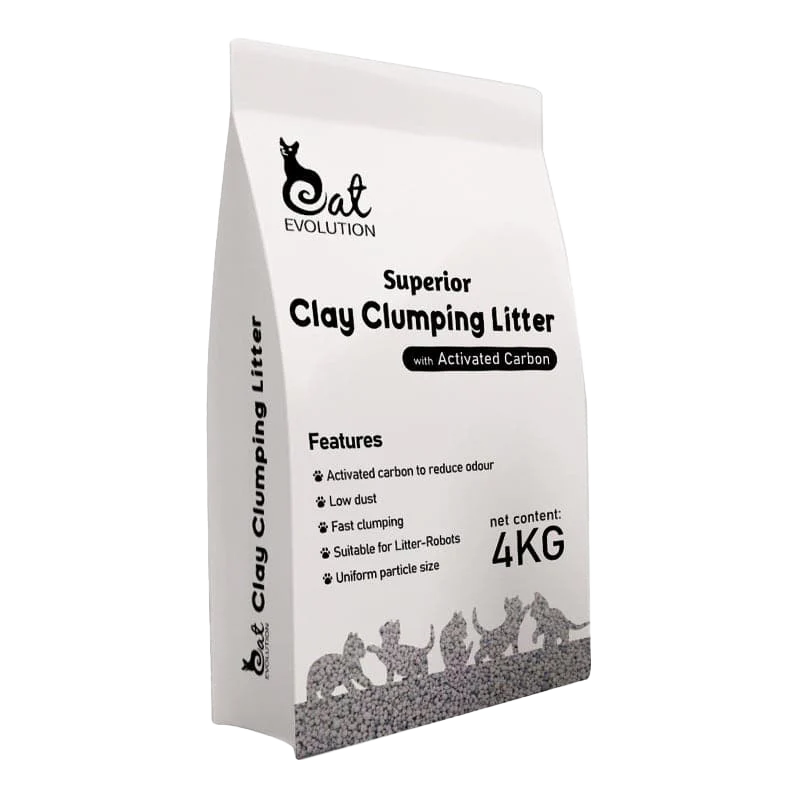
You will find if using Superior Clay Clumping litter, you should not need to replace the filters as frequently. This will depend heavily on your nose, the number of cats and their usage patterns.
The manufacturer recommends replacing the carbon filters in your Litter-Robot 3 every 3 months and Litter-Robot 4 every month.
PRO TIP: if you rotate the filters, placing the used filter in good sunlight for several hours, you may extend the life by reactivating the remaining carbon. Do a sniff test after sunlight, and if odour remains, the filter needs replacing.
Litter-Robot 3 - Carbon Filters Litter-Robot 4 - Carbon Filters


