


Have you found it challenging to install both the Ramp and Shield on your Litter-Robot 4? Or is the ramp or shield being knocked off by your kitties?
The last thing you need is for your kitty, who is comfortable using their Litter-Robot, to be scared off because one of the accessories moves unexpectedly.
In this article, you will find helpful instructions that will assist you in successfully installing both of these accessories. It is important to note that when you purchase these accessories, each arrives with a hinge that should be kept handy as they are used for different purposes.
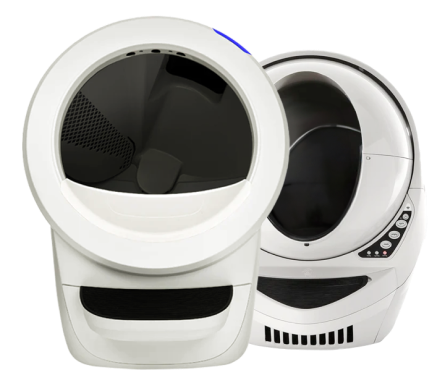
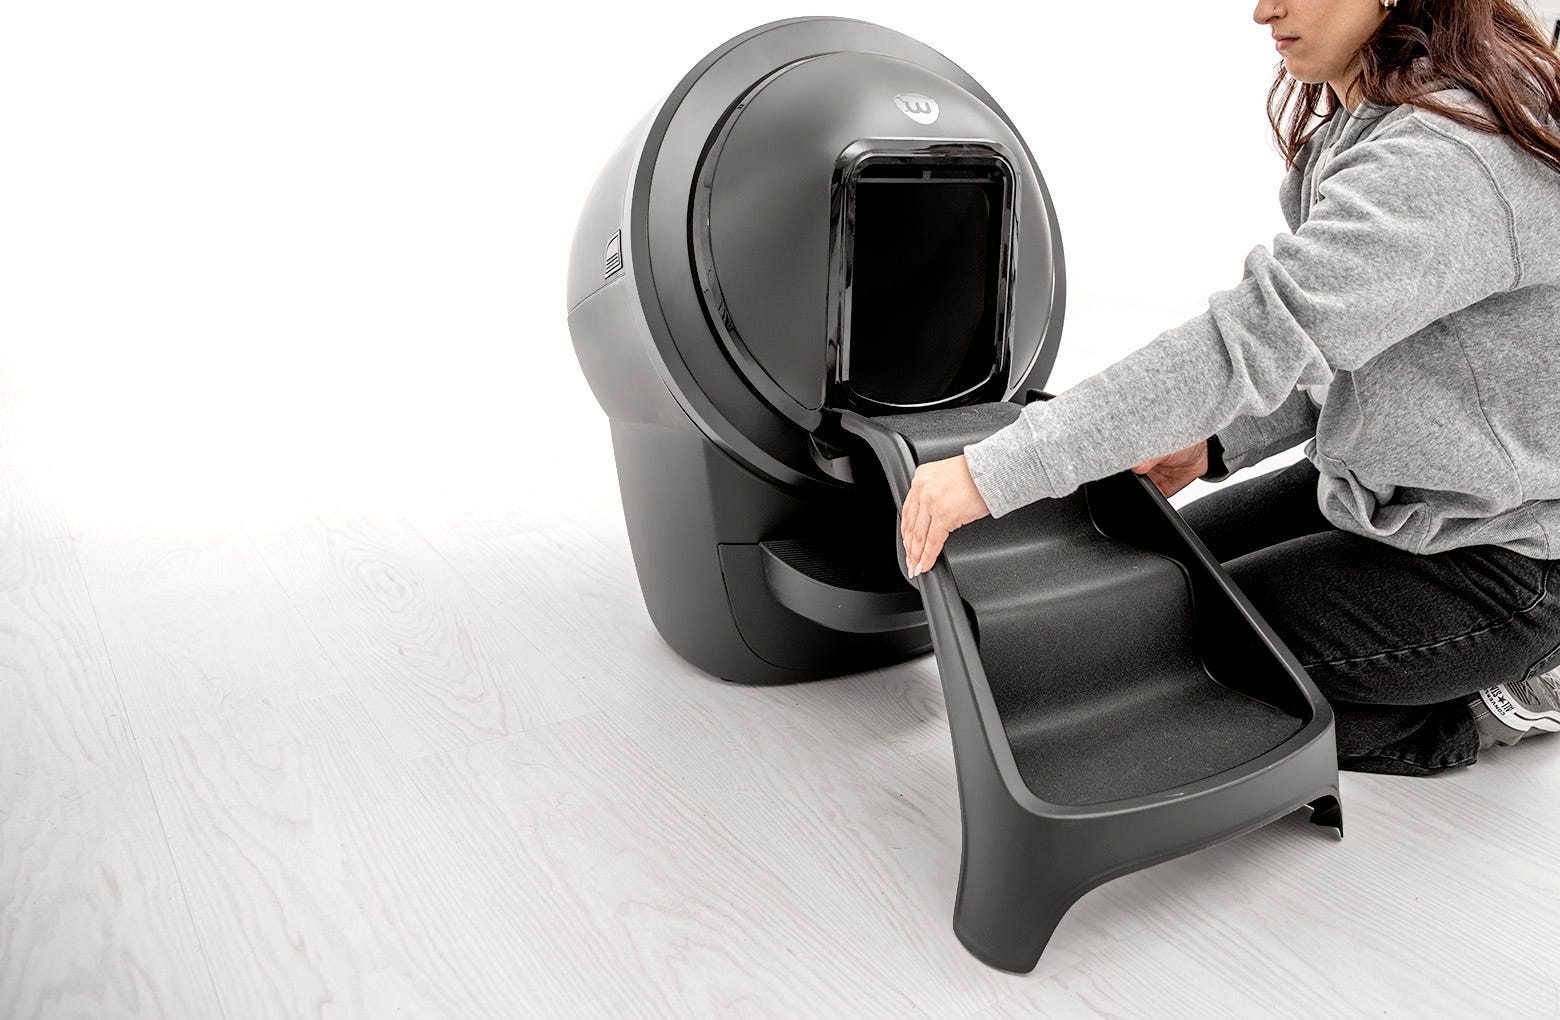
Installing the Litter-Robot 4 Ramp with the shield
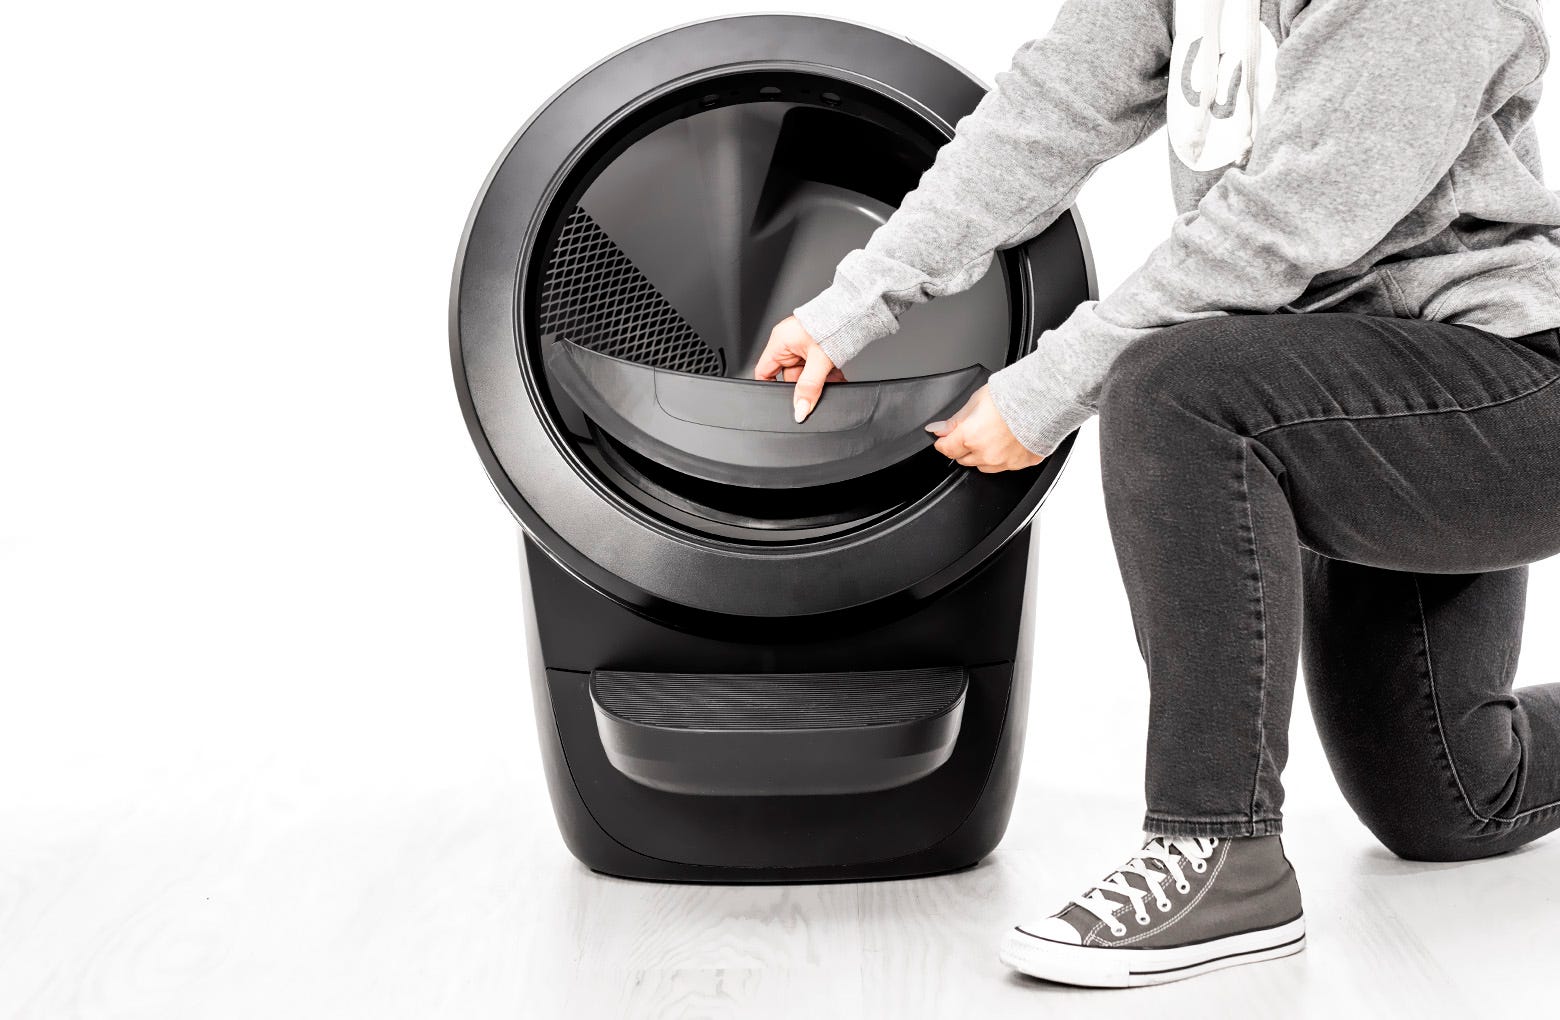
The Litter-Robot 4 Ramp and Litter-Robot 4 Shield are compatible as long as the shield hinge (included with purchase of the Litter-Robot 4 Shield) is used with the ramp. After the hinge is attached, you can install the shield first or the ramp first—the specific installation order does not matter.
Note: If you have already installed the Litter-Robot 4 Shield, you must remove it to install the shield hinge.
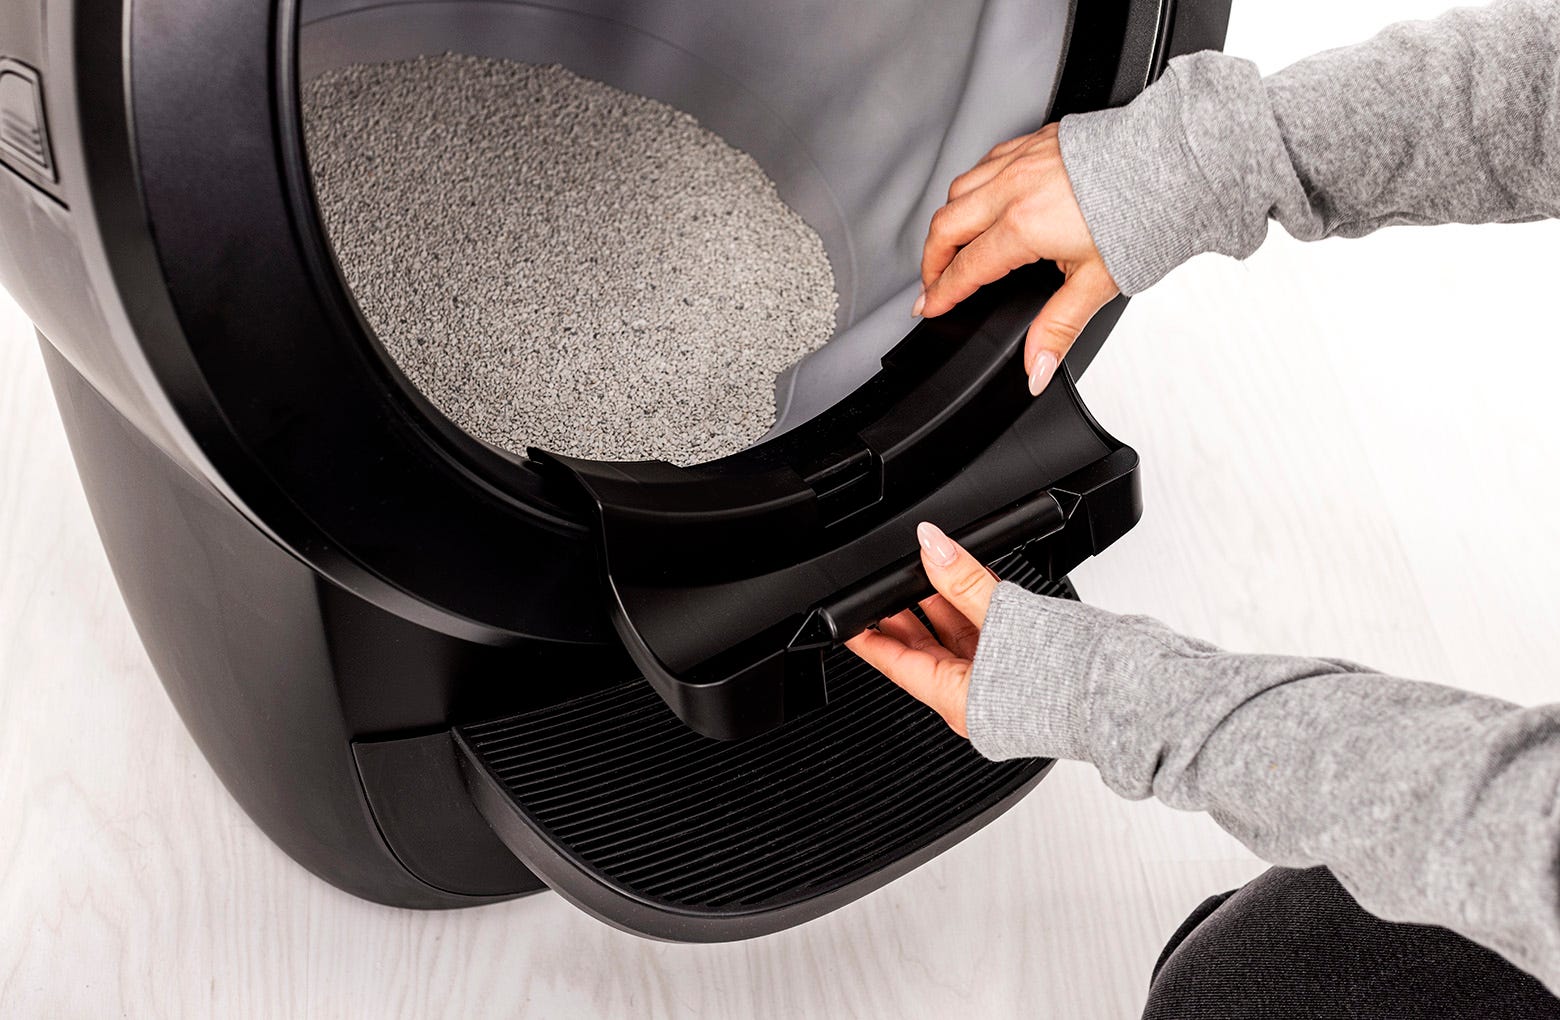
- Remove any fence that is attached to the Litter-Robot bezel.
- Notice the two “notches” on the lower inside edge of the bezel.

- Set the shield hinge onto the bezel using the notches as a guide to center the hinge. Press firmly on each side until the hinge is securely snapped onto the bezel.
- Using your thumb and forefingers, hold one end of the shield hinge against the bezel. Press down until you hear a click, then repeat on the opposite end.
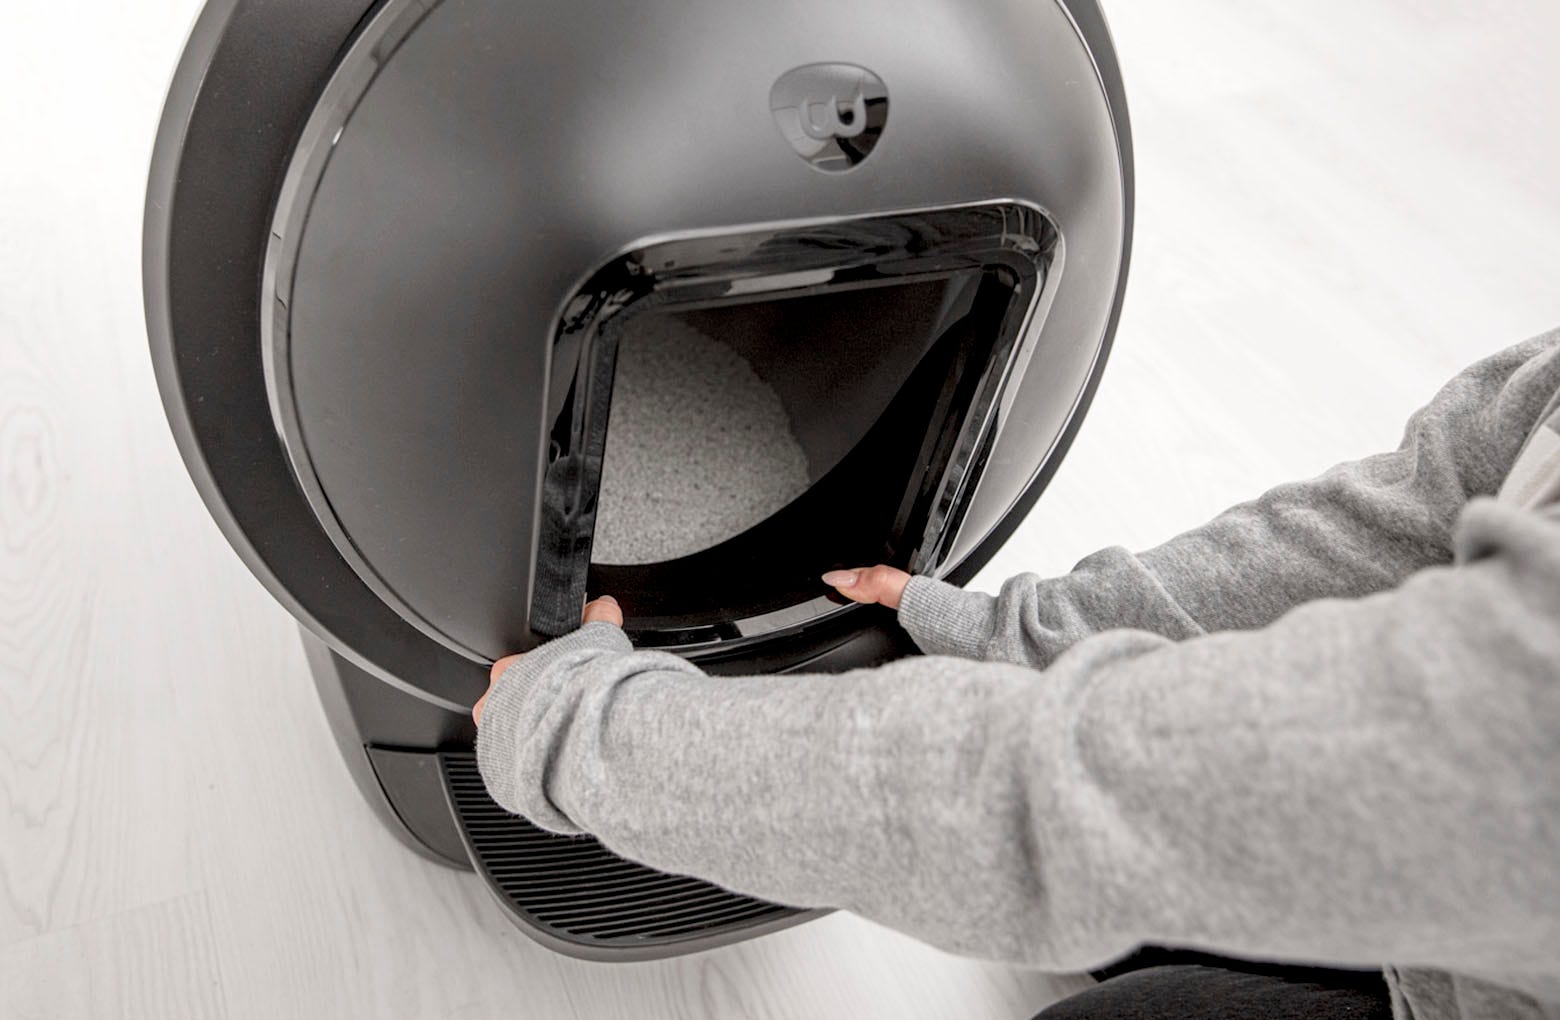
- Ensure both ends of the shield hinge are resting tightly against the surface of the bezel.

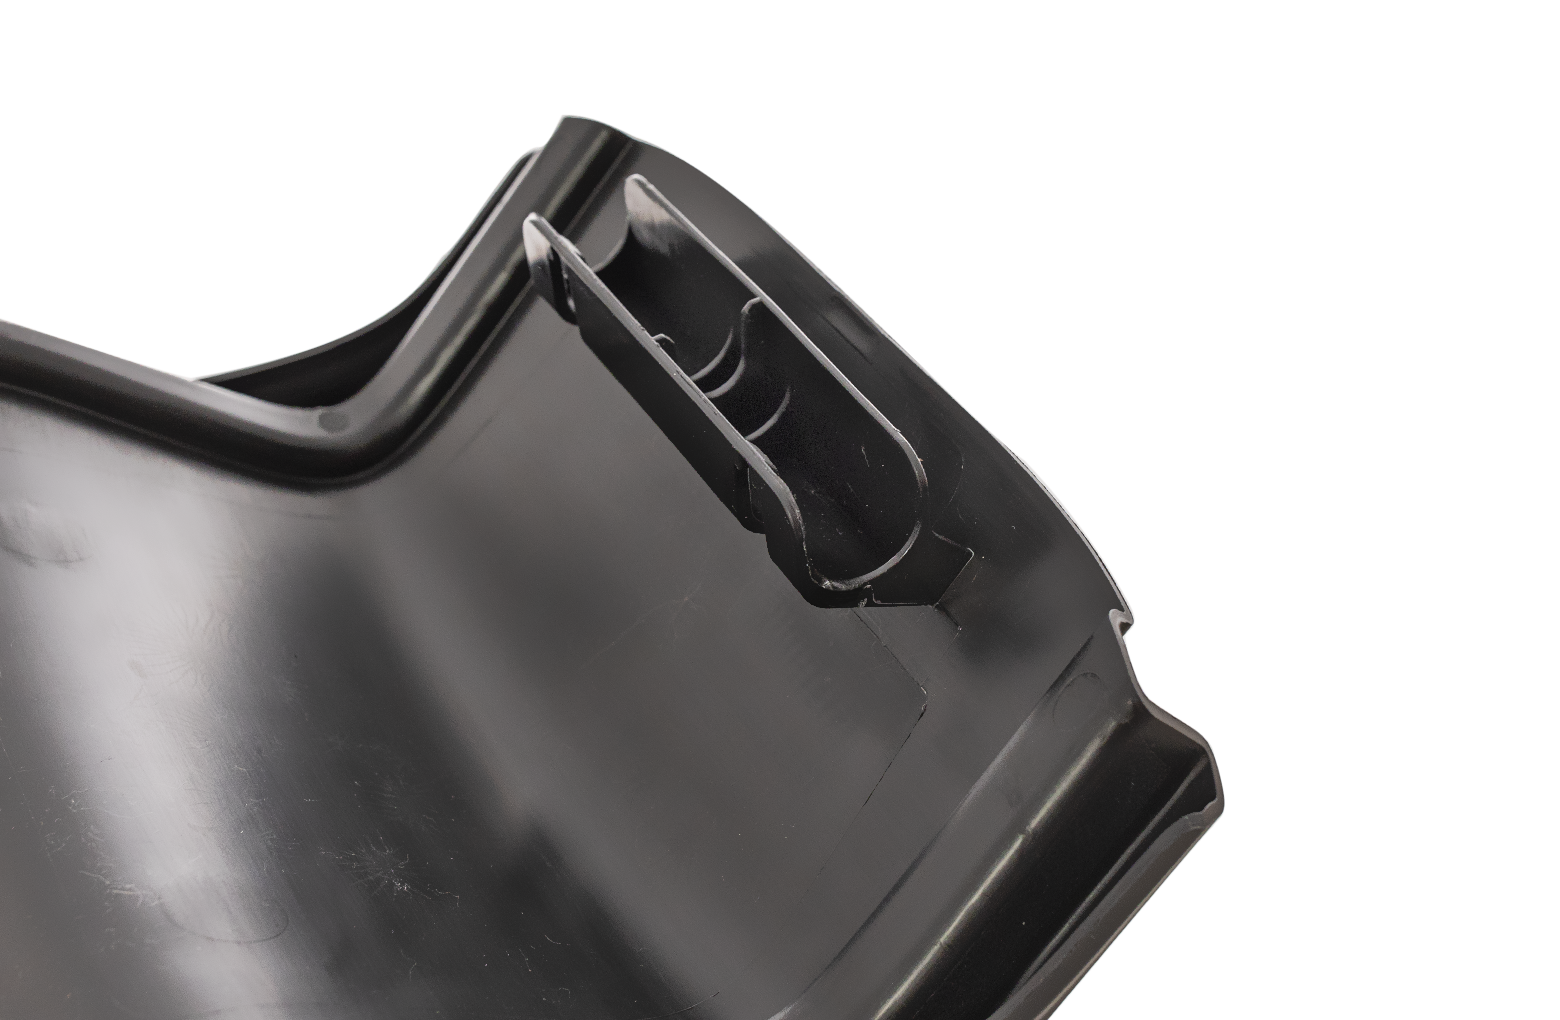
- Align the ramp with the hinge and press down to snap in place. The ramp is now ready to use!
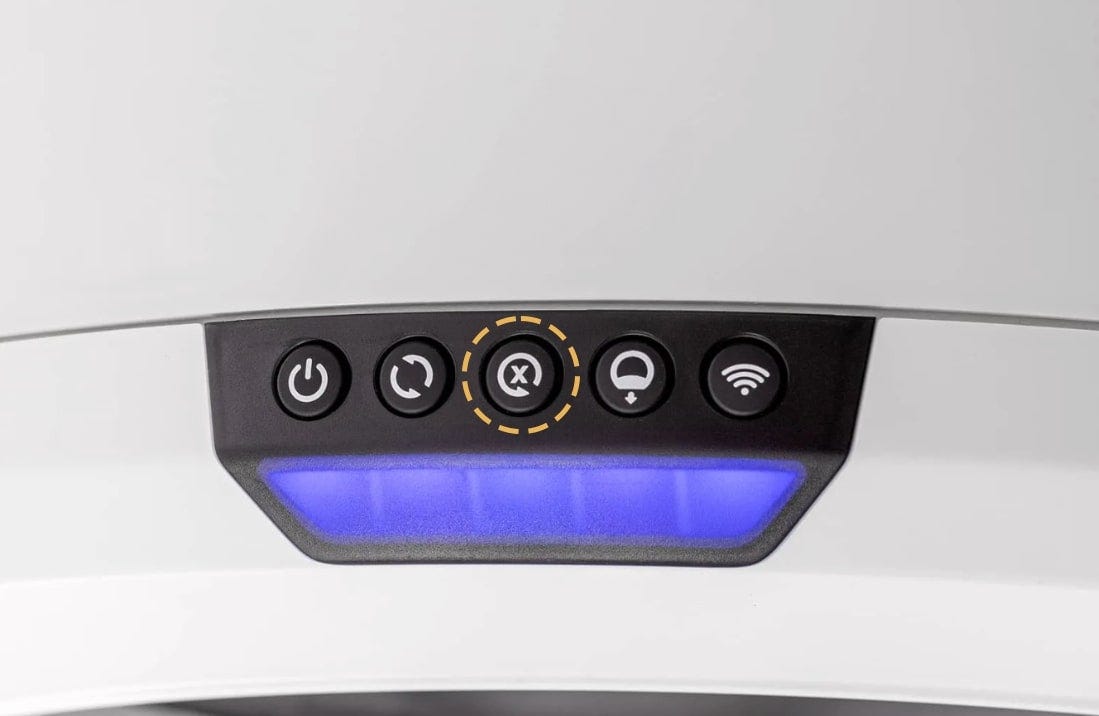
- Press the Reset button to zero the weight sensors.