


We have had a couple of customers email with the same issue. The Litter-Robot has been working hard, automatically scooping, and then, it stops rotating or cycling for no apparent reason. The motor still makes the noise when manual cycle button is pushed but there is no rotation. Dont panic, there is probably just a loose screw that needs tightening.
There is a screw that is located on the base, that in some cases, has come loose.
Its a relatively easy process to tighten it up, but you will need a 3mm allen key (similar to the keys IKEA products use). You may also want to apply a drop of Loctite to prevent loosening again, if the screw undoes more than once.

The instructions are here:
As the picture is not as easy to understand as it maybe, please also check the instructions below AFTER you have read the manufacturers instructions.
Please also note additional information for getting the shaft to flat side up, which is necessary for the screw to lock into position (otherwise it will come loose again, possibly immediately) information is at the end of the article.
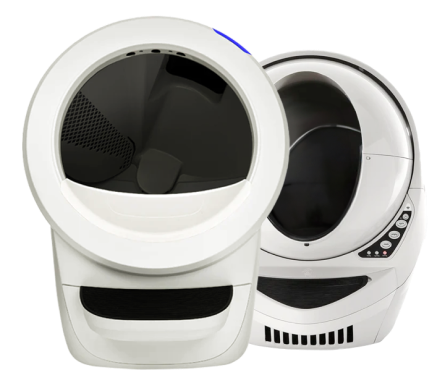
BASE the gear wheel is visible on the top of the base, just back from the control buttons, as black wheel with teeth

Looking from the back of the unit, the buttons are now on the left side. The gear wheel is visible with a small half circle cutout that shows the shaft.

A close look at the gear wheel and silver collar that are connected to the shaft. The screw is just visible in the cutout

The gear wheel from the side, showing the collar with screw, that needs to tighten down onto the flat part of the shaft

A side view of the gear wheel and screw, showing the flat section of the shaft. If the screw is not tightened onto the flat section it will not grip and will not turn the globe
The screw should be able to be tightened without removing the plastic case cover, as you can access through the small cut out half circle provided for this purpose. Do ensure the gear wheel is in the correct position so that the screw will tighten to the flat section of the shaft. See the instructions regarding this is you are unsure, or call 1300 350 635 for assistance.
NOTE both the silver collar and the screw are aluminium, so tighten but do not use too much force - enough to feel firm, as it is possible to damage the threads and not be able to screw in. If this occurs, please send a picture of the screw to sales@catevolution.com.au and we will make arrangements for replacement if necessary.
NOTE If the Shaft is not flat side up (you may need a torch to see the shaft clearly), you will need to put the bonnet back in place, without the globe. Turn on the unit (plug in, power button on) and prepare to press RESET button when you see the flat of the shaft come into view. This will stop the gear moving, and you can tighten the screw in the correct position to hold. When tightened, press RESET again, and let the unit complete the cycle as usual. When finished, it will flash lights (due to globe not being in position). Press the power button to turn the unit off, plug out, and re-assemble as usual. Plug in, press power on, and the unit should now operate as per normal completing a full cycle ending with solid blue light.
We do trust this assists, and if you are unsure or need further assistance, please call customer service 1300 350 635.
Please also do advise if the issue was resolved for you by emailing sales@catevolution.com.au
Loving the Urban Lifestyle