You can review the informative Whisker video on the Omnisense Lasers here
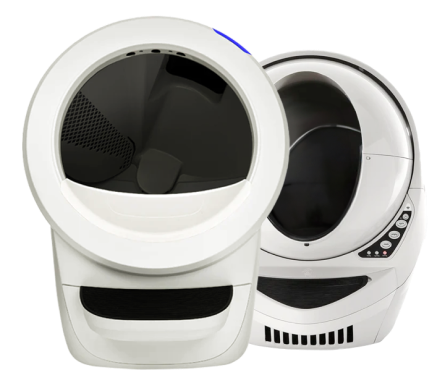
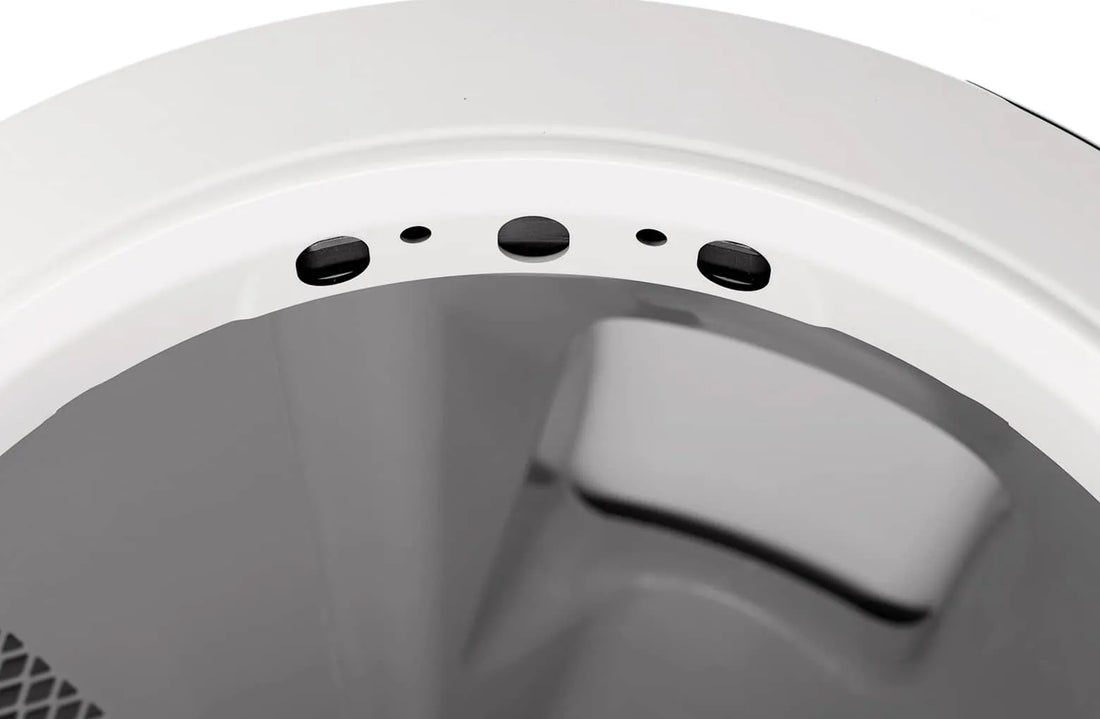
Located in the top underside of the front rim or bezel, the curtain sensors consist of 3 large openings, with laser sensors deeper inside the openings.


These are lasers, which can be suseptible to dust or debris affecting operation. The picture above labeled laser 1,2 and 3 is for enquiring minds, as this board is difficult to see when installed in the bezel. DO NOT remove this board unless you have been instructed to for replacement purposes.
Using low dust litter, and topping up or filling slowly so that dust does not rise onto the laser sensors is helpful for avoiding issues. You can also put a cloth over the sensors when filling, if you have dusty litter.
In case you have an issue with your sensors that maybe due to dust (even a spek can affect operations) following is insight into the actual board, and how best to clean it.
WHISKER
Please review the Omnisense Laser cleaning video by the manufacturer here.
GENERAL CLEANING
Using the brush attachment on your vacuum, you can brush over the area of the bezel, and suck out any litter dust or debris as part of your deep cleaning routine.
LENS 1 & 3
Clearly marked on the board as pictured above, but hard to see due to the depth inside the bezel, these are 'football field' shaped with a 'cricket pitch' centre. The cricket pitch is the important part and bears careful cleaning if there is any dust (even a spek or 2) on it.
Using a small artist style painbrush, or a dry qtip, or if you have one on hand, a blower, you can clean dust off the laser.
LENS 2
This is the laser in the centre opening, and has the football field with cricket pitch similar to 1 & 3 but has 2 gold flat metal squares like basketball courts rather than a cricket pitch. The squares should be clean and shiney.
DEEPER CLEANING
If you have an app report that your sensors are dirty and need cleaning, or alternating blue bar and red bar, and you have not had success with a light cleaning, you may need to deep clean the sensors.
- TURN OFF and unplug your Robot by removing the power cord from the back of the base to ensure there is no power to the appliance before proceeding
- Disasemble the Robot for easier access, so you have only the base and rim to hand
- Tilt the Robot back and take clear close up photos of each of the sensors, and review the expanded photo to see if there is any debris visible on the sensors, to identify what needs cleaning
- Using a clean dry qtip, try wiping over the sensor to remove any debris.
- If needed, use an artist style small paint brush to dust off the sensors. You can also try blowing the sensors clean if you have canned air or similar
- Take another set of photos of the cleaned sensors in case they are needed for review
- Check the grey fuzzy strips on globe and rim for debris or cat hair and clean/vacuum clean.
- Check the carbon filter and cover on the outside of the globe is clean and fitted correctly. If there is debris on the outside of the globe, take a photo an submit for review.
- Reassemble, plug in the power and turn on, reviewing lights without interrupting, with a short video helpful if possible.
If your Robot does not cycle on start up but has a solid blue bar of lights as expected, press CYCLE and let it complete to check operations are correct.
If you still have an issue, you will need to send both sets of photos and video of the fault light and app history to support@catevolution.com.au for further assistance.
Note for calibration of the Omnisensors, review this video here.
